The last article described on how to track publishing activities using Azure Telemetry. In this article, we shall discuss on how to create reporting mechanism in Azure that shares information regarding Sitecore publishing.
Understanding Log Analytics
Now that we have tracked publishing using Azure telemetry, you can view them in Log Analytics in Azure Application insights.
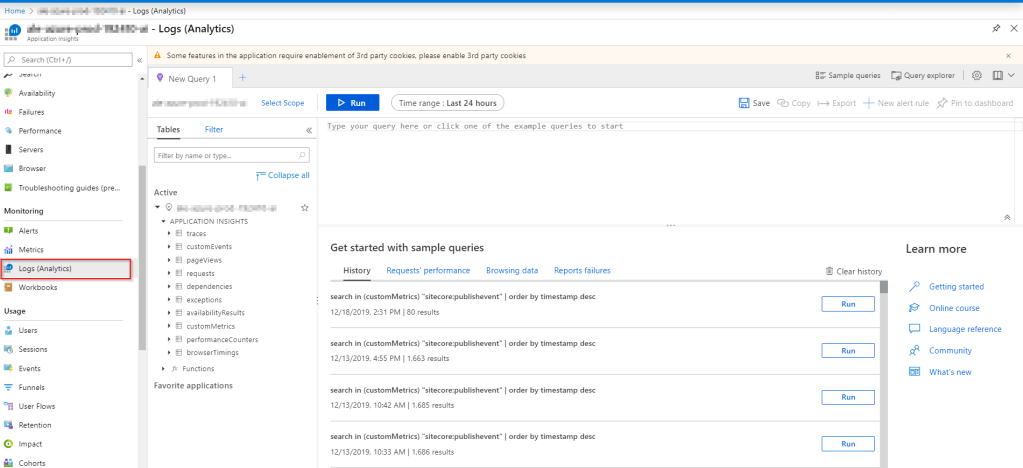
Log analytics lets you to query Traces, CustomEvents , Pageviews, Requests etc. Have a look at the documentation on Log Analytics Querying.
let period=7d;
search in (customMetrics) "sitecore:publishevent"
| where timestamp > ago(period)
| order by timestamp desc
Above query returns publish event that are tracked for past 1 week from Custom Metrics. You can also add conditions to know more insights on publishing.
 let period=7d;
search in (customMetrics) "sitecore:publishevent"
| where timestamp > ago(period)
| order by timestamp desc
| project InstanceName = customDimensions["InstanceName"],PublishMode = customDimensions["PublishMode"] , TargetDatabase = customDimensions["TargetDatabase"] , UserName = customDimensions["UserName"], SitecoreItemPath = customDimensions["SitecoreItemPath"], valueCount
The above query projects custom dimension’s properties as columns.

The above query shows the details of items that are published in past 1 week, we can improve it a bit to know publishing done by each user. To do that, we need to add “| summarize TotalItemsPublished = sum(valueCount) by tostring(UserName)” to the above query.
 let period=7d;
search in (customMetrics) "sitecore:publishevent"
| where timestamp > ago(period)
| order by timestamp desc
| project InstanceName = customDimensions["InstanceName"],PublishMode = customDimensions["PublishMode"] , TargetDatabase = customDimensions["TargetDatabase"] , UserName = customDimensions["UserName"], SitecoreItemPath = customDimensions["SitecoreItemPath"], valueCount
| summarize TotalItemsPublished = sum(valueCount) by tostring(UserName)
Now that we have understood about querying the logs, we shall proceed to next step to send weekly mails.
Reporting Mechanism using Azure Logic App
The final step in this process is setup a mechanism to send out mails on Sitecore publishing. This can be achieved using Azure’s Logic app, it can also be done through Azure’s Function app.
To create a logic app using Azure portal – please follow this official documentation from Microsoft.
After the creation of Logic app, go-to Logic app designer to create a list of steps.

Opening the Logic App, view designer will display, select Recurrence and choose trigger as a weekly occurrence.

In this example, we shall set weekly report on every Friday around 9:00 AM.

Click on add action below Recurrence and choose “Visualize Analytics Query”

After adding the Visualize Analytics query action, update above mentioned query.
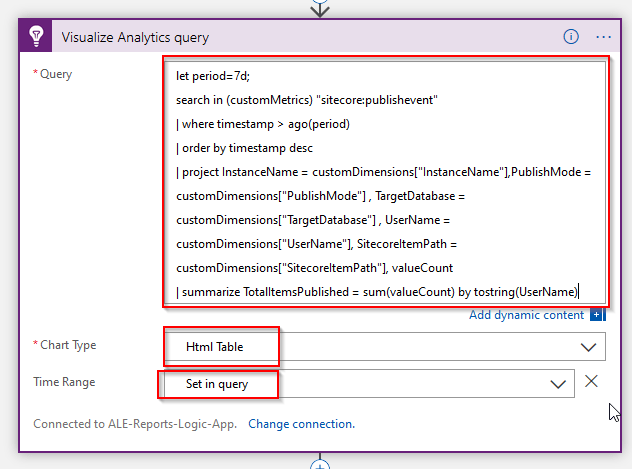
The above query visualizes data in HTML Table format which can be attached in email’s body which we will see in next step. In this example we are using Office 365 Mail Action.

Now we can update the body of the email and add recipients in Office 365 Outlook action as shown below.
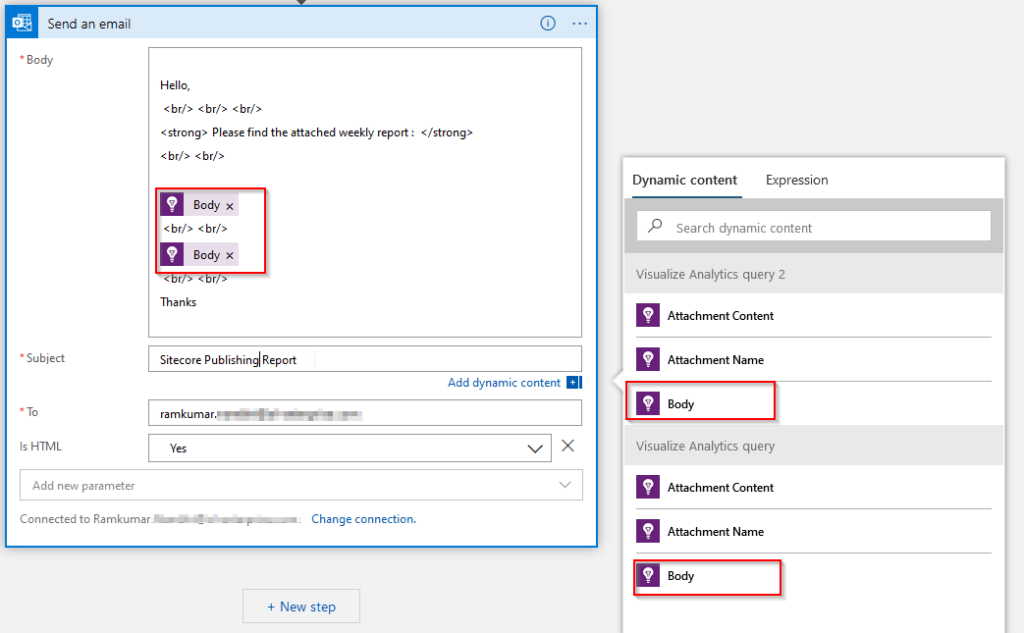
TIP: Multiple Visualize Analytics query can be used in Log App designer and they can be attached in same email body as shown in above pic. In my case, I have included availability of site as another query.
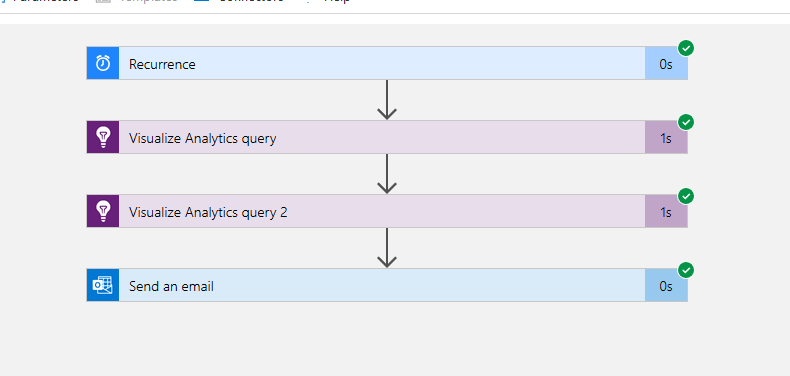
It’s time to run the logic app and check it.

If it runs successfully, you should see Check box in each action and then you should receive an emails as shown in below images.

To summarize, this is an easy NO CODE solution which can be configured in minutes. This has proven effective in understanding publishing activities. It can also be used in lot of use cases like to report Availability of Sitecore site, Measuring performance metrics of a page etc.
